Step 1:
The first step is to make a box, and also make a identical one also, and place it up a bit and to the left or right about the same amount as you moved up the dashed lined box. Then you group them so the gray cube will take space out of the red cube.
Step 2:
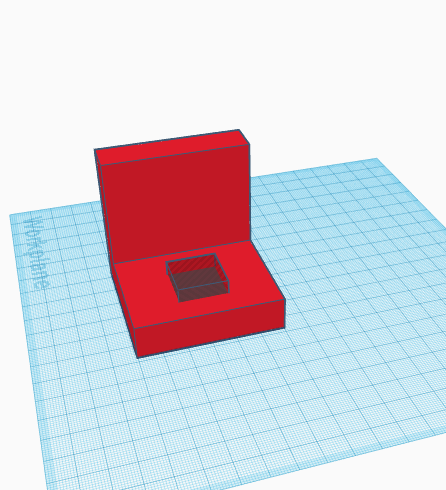
Second, make a small grey box to subtract space from the red shape, so then there will be a hole at the bottom. Make sure the cube is a bit farther back then the center so you have enough room for the cuts that we have to make later on.
Step 3:
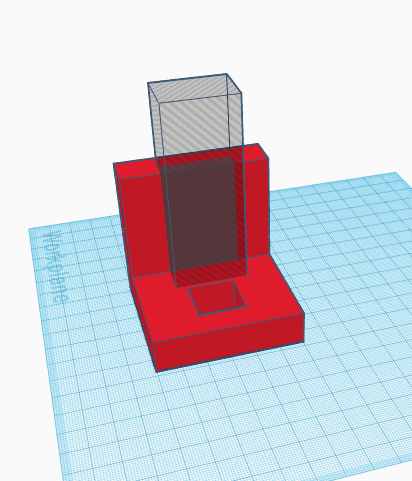
Third, make another box and place it right behind the square hole in the center of the bottom shape. Have some of the new shape in the wall that is upward. Also make sure that you have the bottom of the gray square flush with the top of the bottom part of the red square.
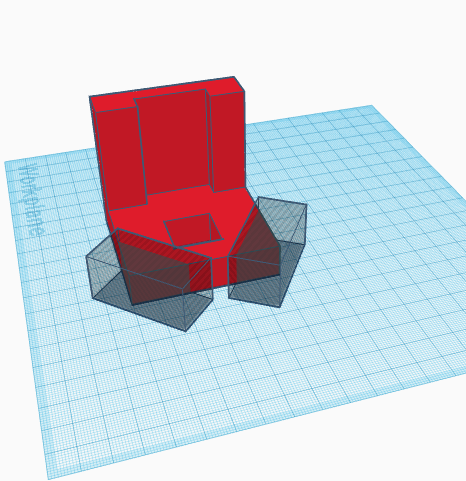
Step 4:
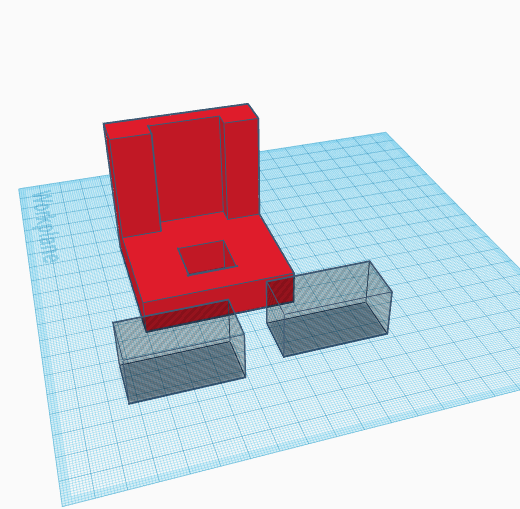
Lastly, Make two more identical Rectangular prisms, and mirror them on opposite sides (45° on the left side, and -45° on the other) of the red shape facing the bottom of the picture and cut them out.
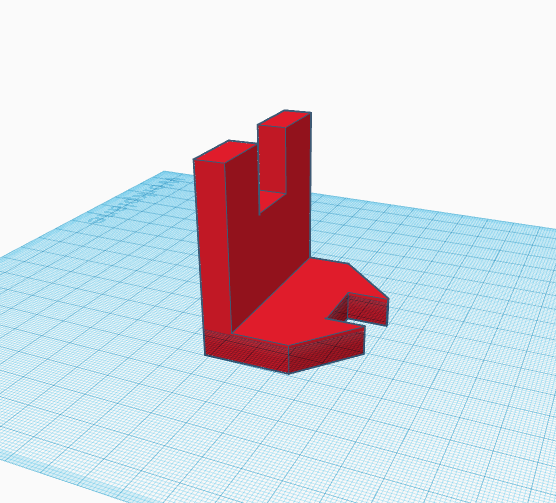
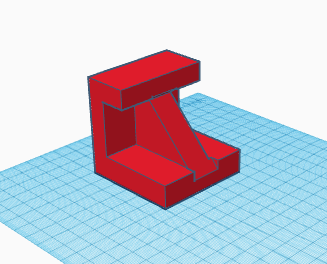
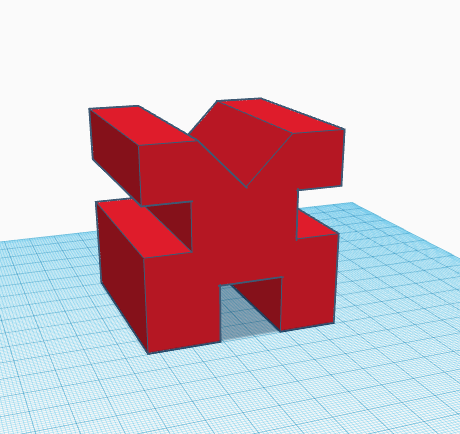
Finnal Product
What I've learned |
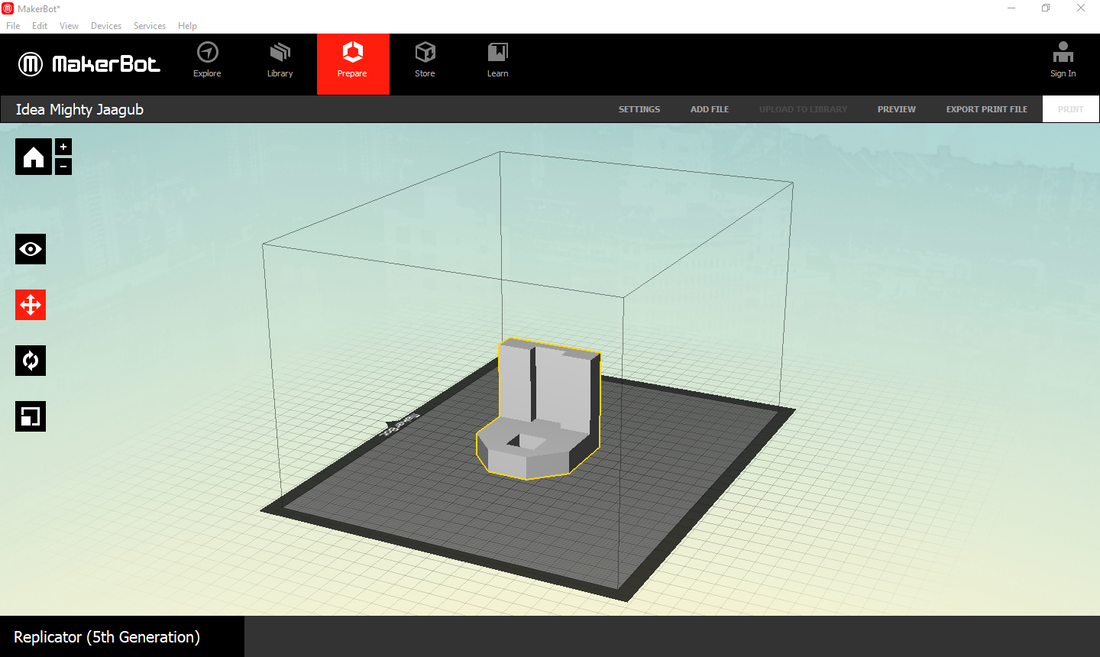
With the shape all done you can import the file into MakerBot which is a software that allows a 3D printer to know what to print. Make sure that your object is smaller then that black line around the grey rectangle and the line that float in the air, because if its to big the printer wont be able to print it also.
|
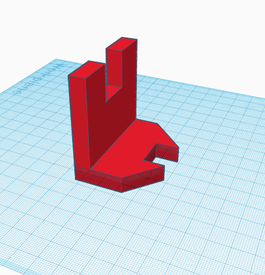
I've learned from this experience was that if you make a mistake like I did in the first picture down below, is that something like that will be very noticeable when it is 3D printed. Also< if you don't take your time on a project wont be very good and I may be noticeable that it was rushed.
Other Widgets
|
|

|
|